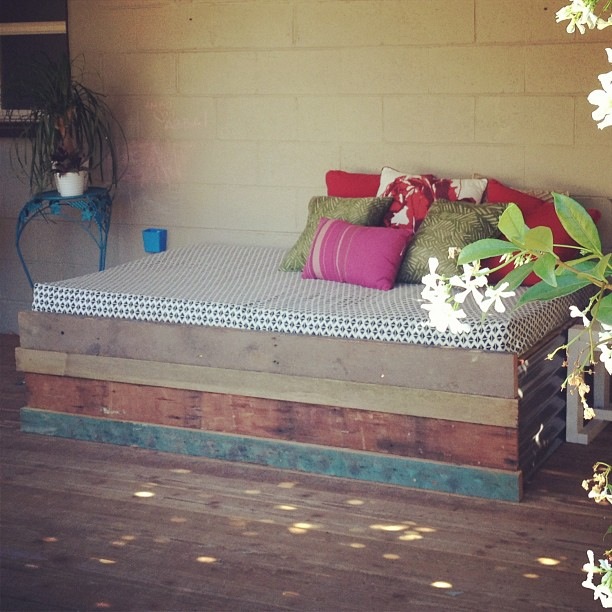
Okay, this one took me a few days off to complete. I have a large covered patio that I wanted to fill with something large. I wanted something to lay on and read a book, curl up with a blanket and glass of wine and listen to the rain, or take a long afternoon nap. Boom. Patio day bed.

I sketched up an idea and showed it to a friend. I knew I could figure it out, but it went way easier with a buddy. Here’s my sketch.
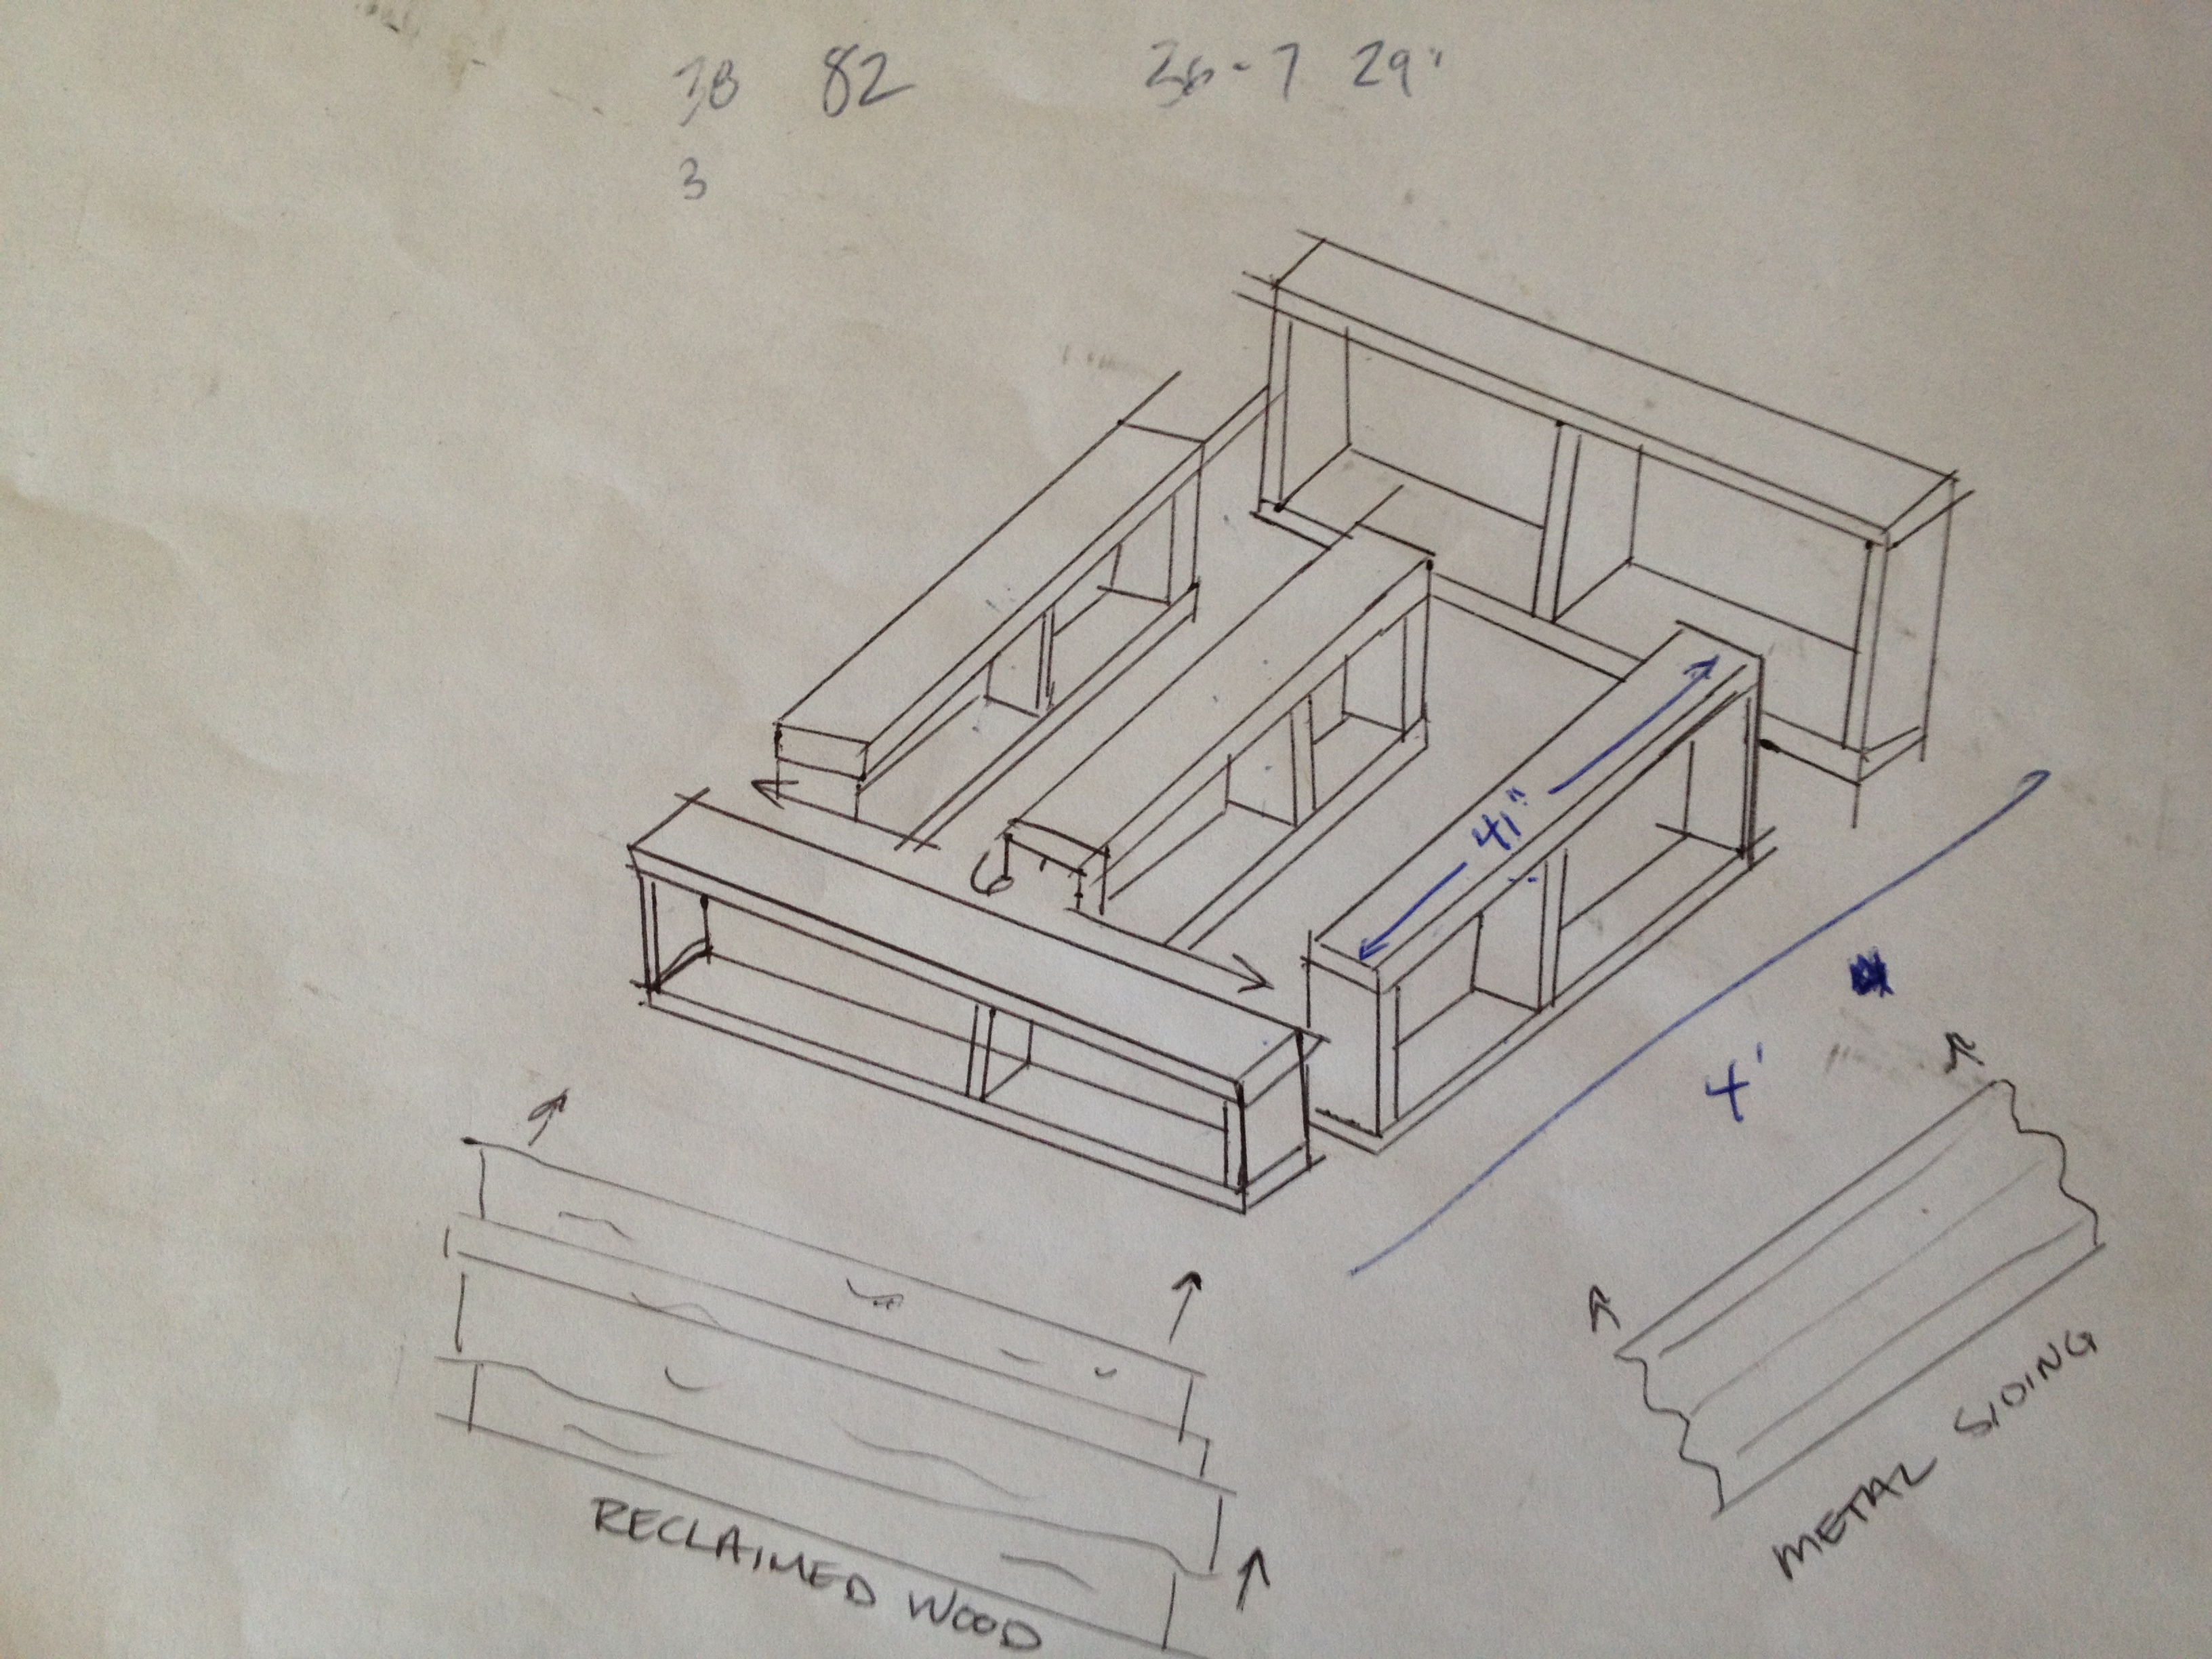
So you can see it’s a pretty basic design. I wanted mine 4’x6’x18″ to fill the space but I would recommend buying foam pieces first and then building to suit the foam. Time to get sawing!

We used the miter saw from the tool library and 3″ outdoor nails and screws. Once we figured out the measurements, it was a piece of cake.

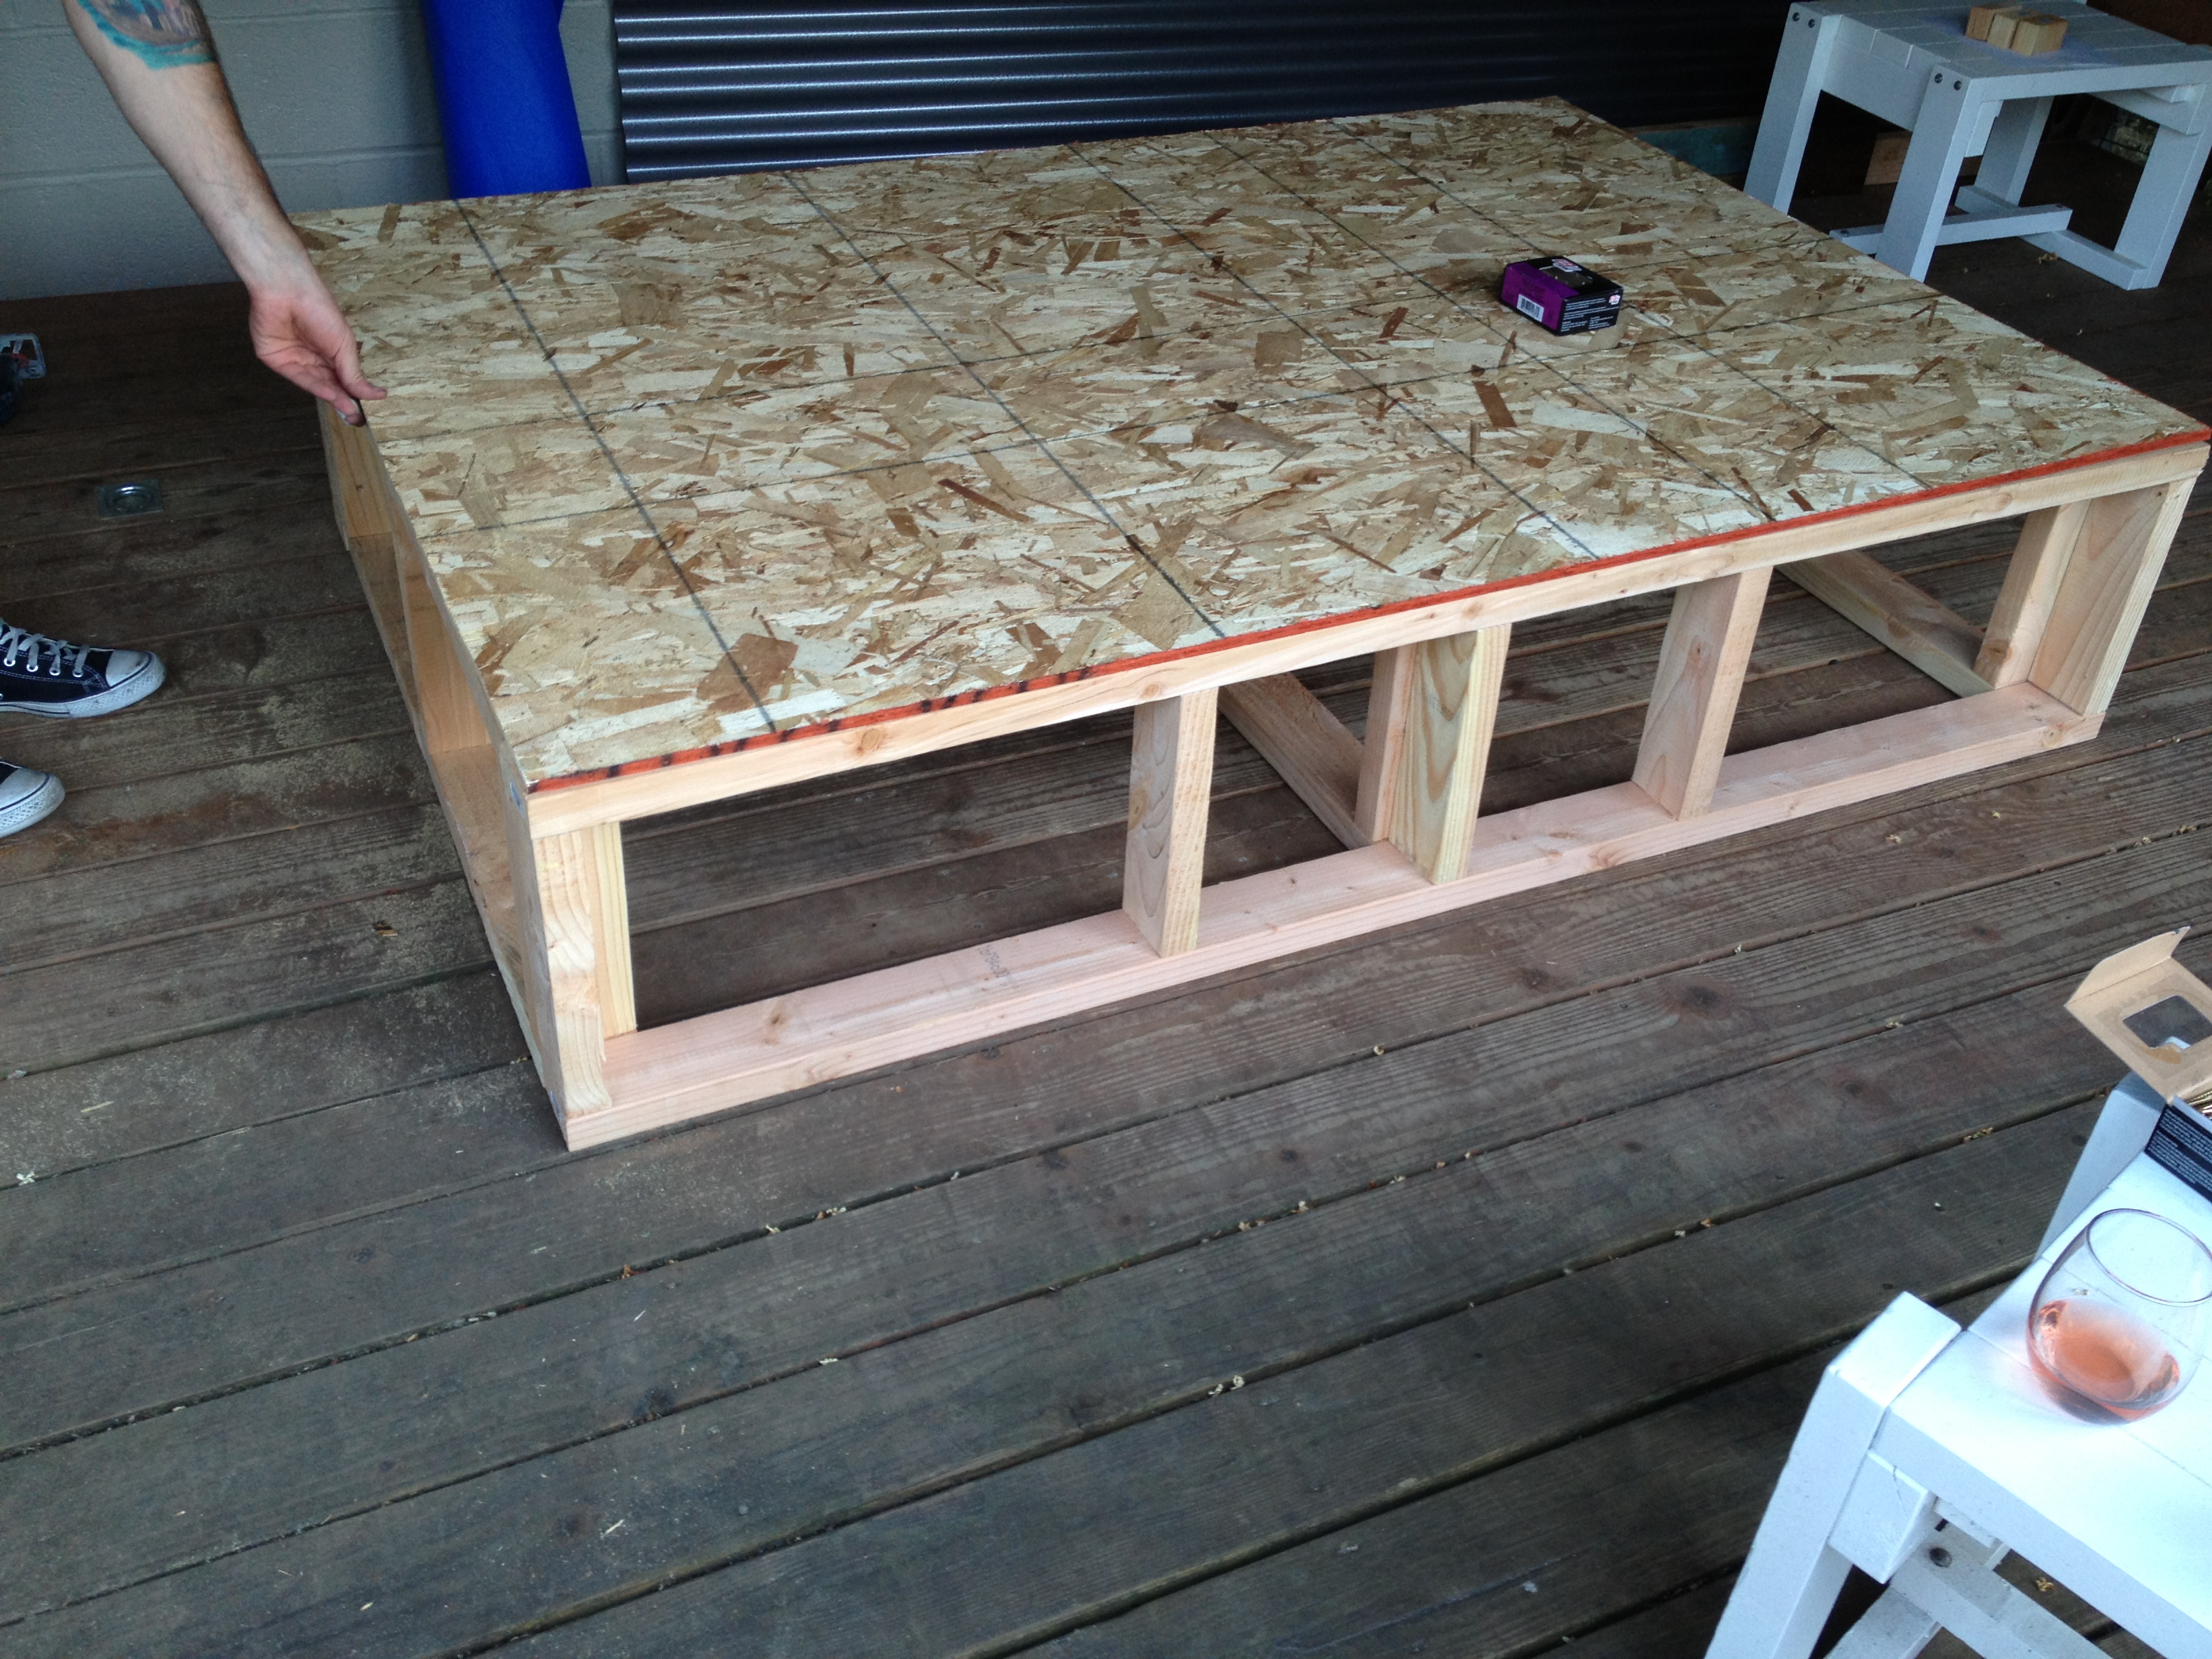

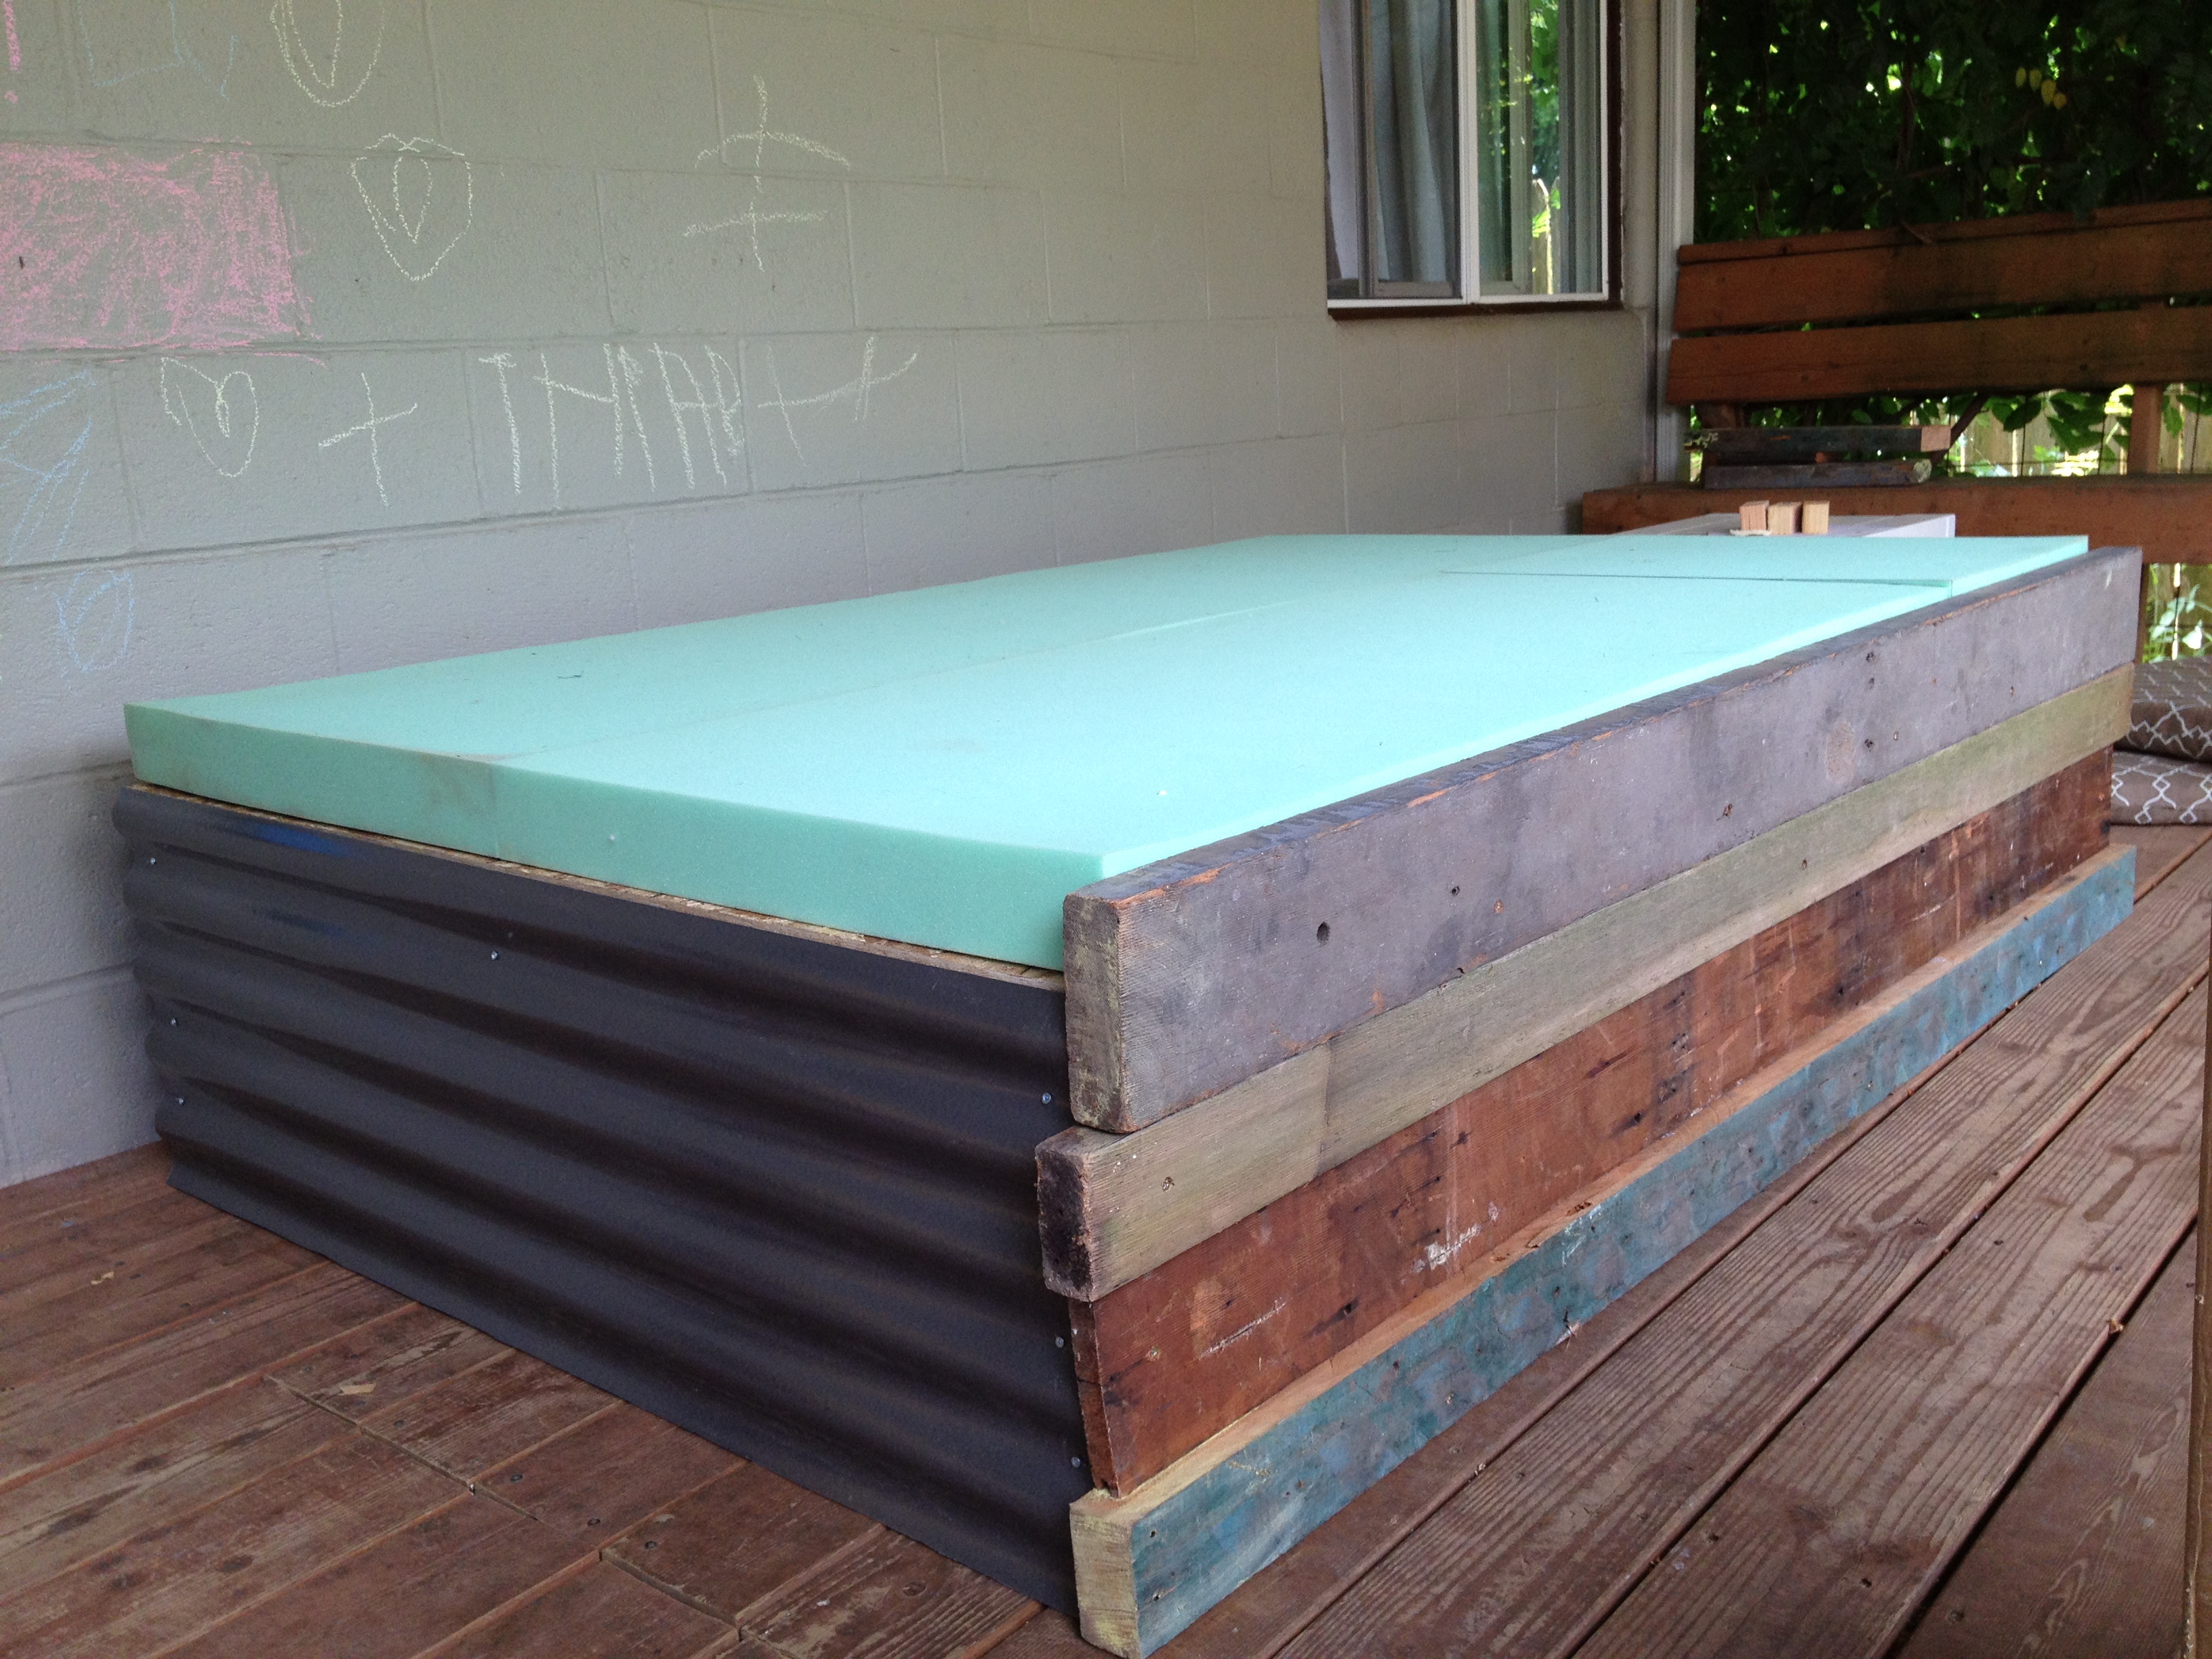
An impromptu dance party was held to ensure structural soundness. Now that the bones are done, it’s time to make it look pretty. I picked up some salvaged wood from the Rebuilding Center in different shades and thicknesses for the facade and some corrugated fiberglass for the two exposed sides.
I searched high and low for cheap foam. Called scrap stores. Looked online. Trolled craigslist. Found two twin memory foam mattresses for $20 each and that was a steal, but not quite enough. I had to cut them in half and run them through the washing machine because they were covered in dog hair.
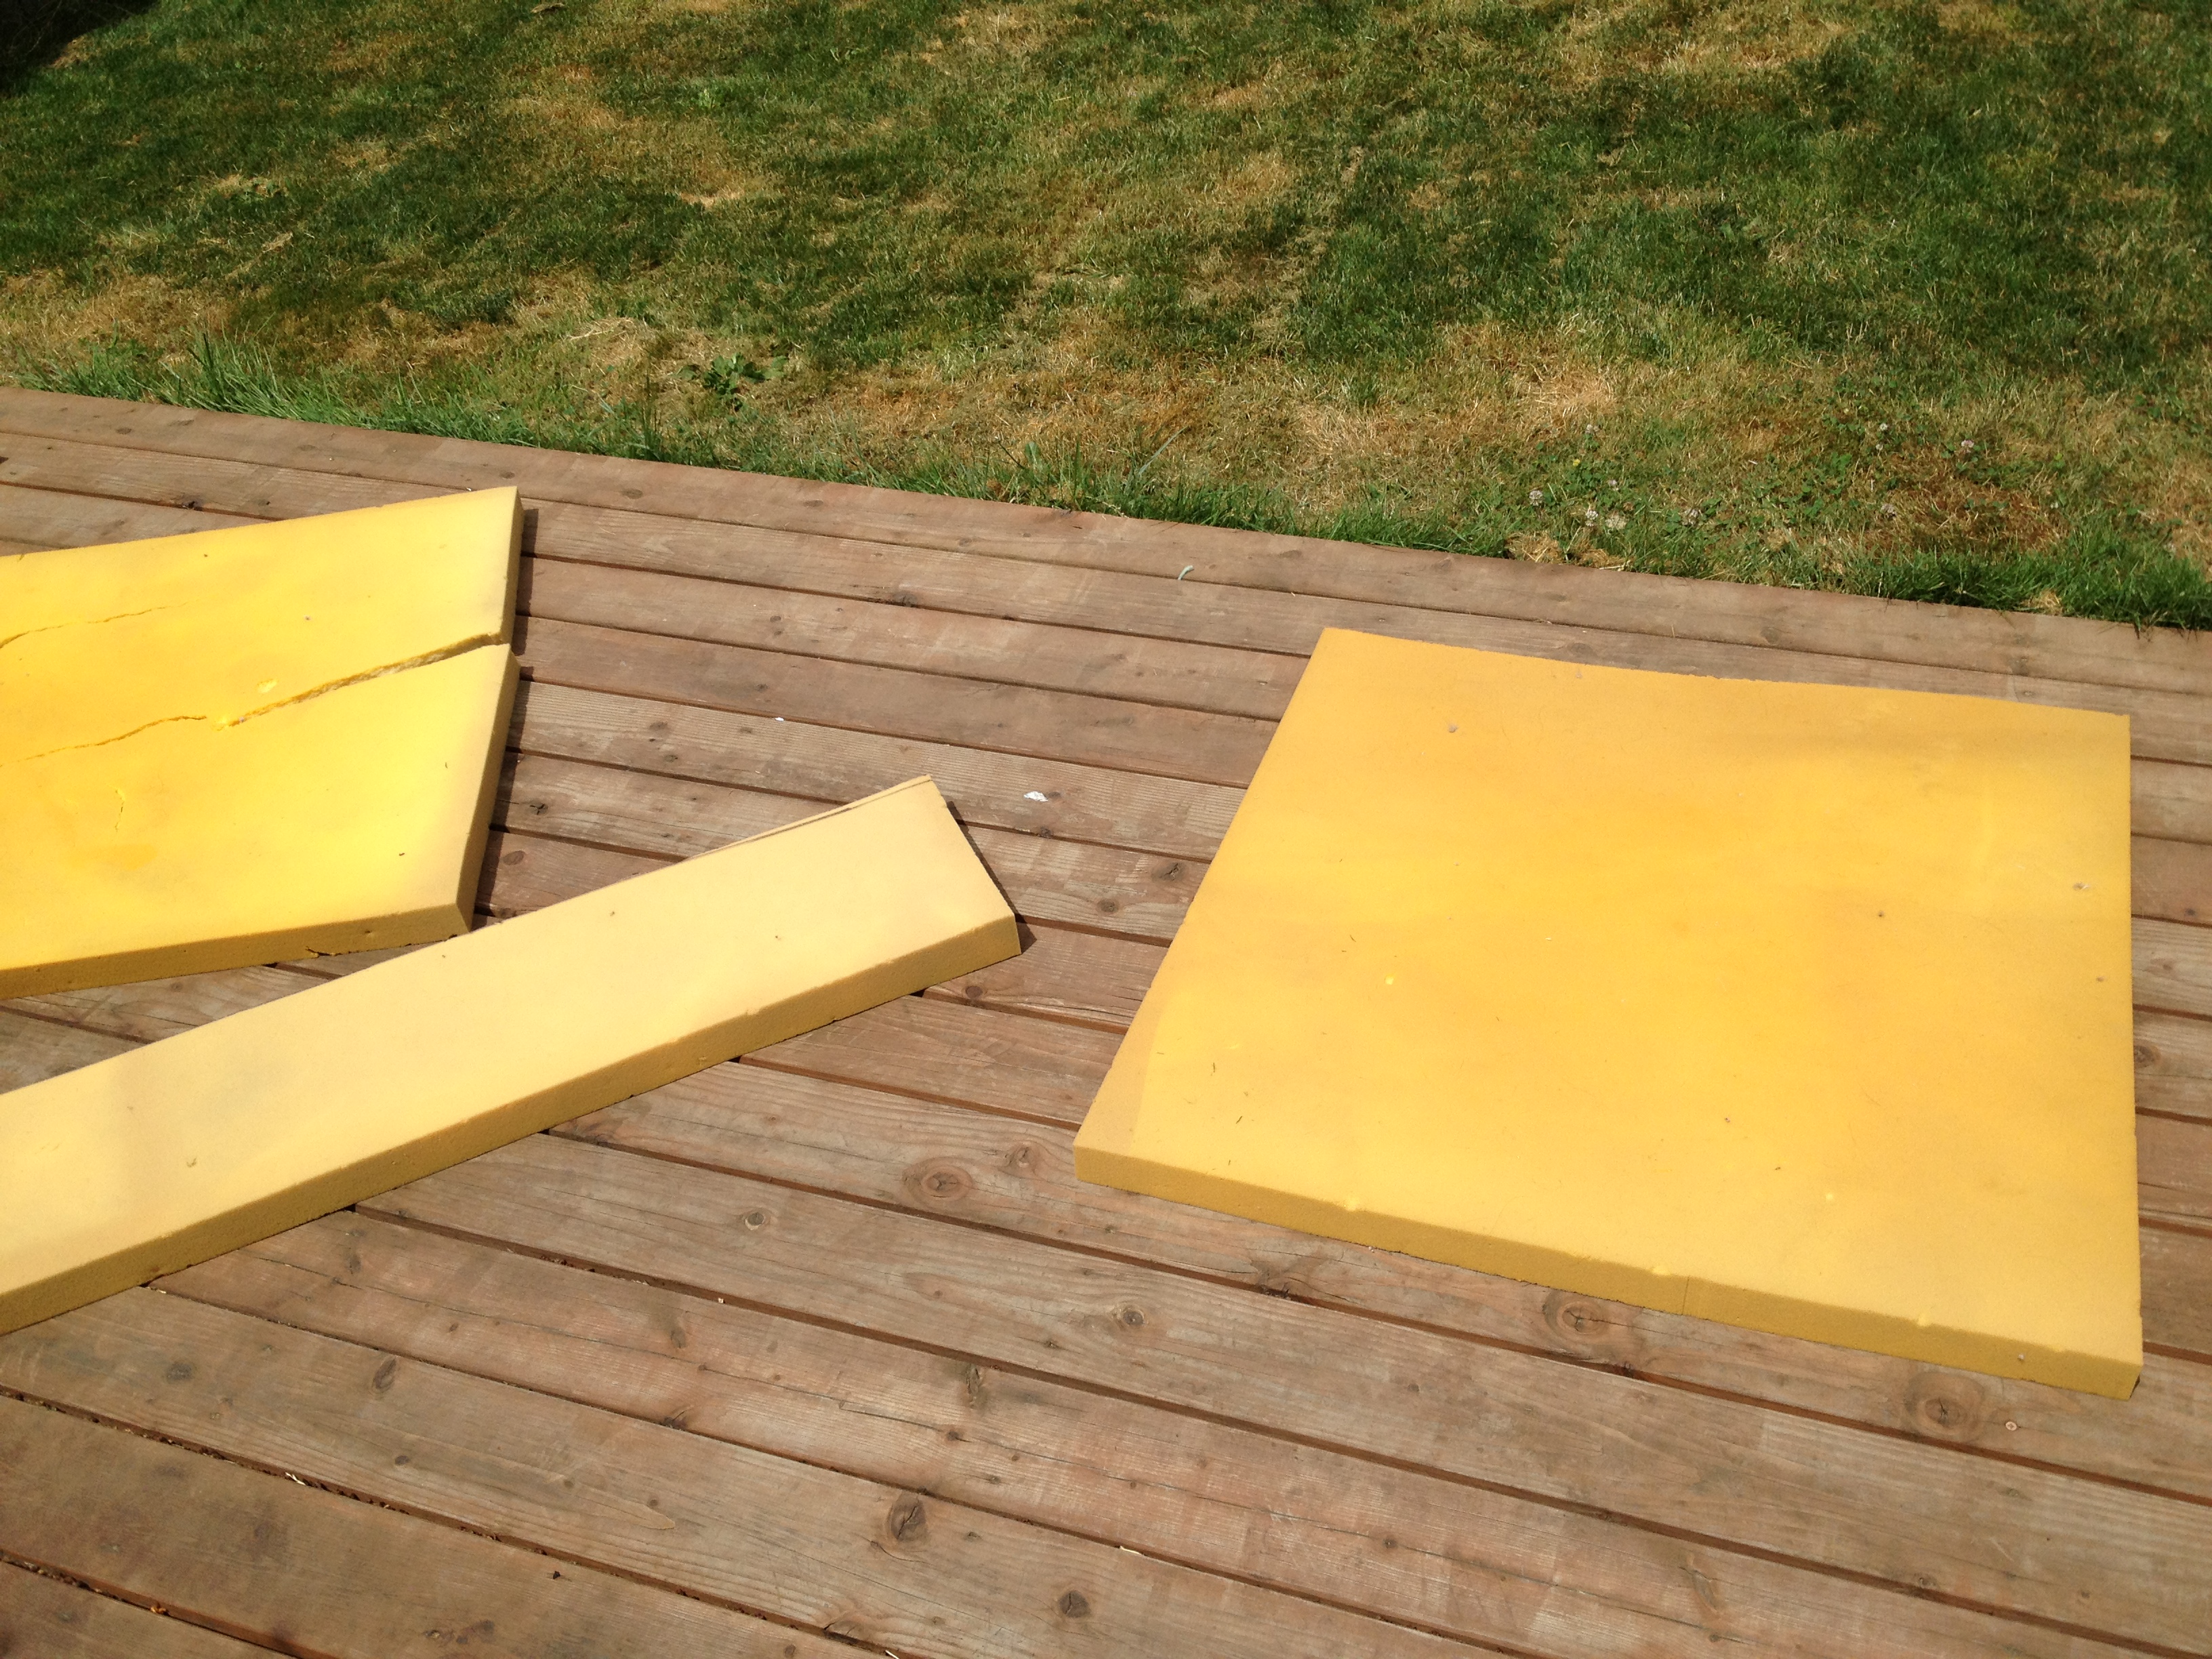
So, I finally broke down and bought 3″ foam padding from Joann Fabric. I had 2 – 50% off coupons and one layer of 4’x6’x3″ came to be about $80 with the coupons. I glued all the foam together with the high density on bottom and the memory foam on top. All together, 5″ of foam and $120. (This is why I suggest getting foam first and building to suit.)
I made a permanent slip cover to keep it all together out of an old duvet cover I wasn’t using anymore. Then, I made the visible cover for the foam. It overlaps on the bottom so there was no need for zipper or clasp. I taught myself how to sew and have no technical idea what I’m doing most of the time but it usually works out. I map it out in my head, start cutting fabric, piece it together, rarely use pins, and then plow threw the stitching. So I can’t really explain what I did here. Apologies. Got some pillows from Goodwill that I ran whole through the washing machine and laid out in the sun to dry. Here’s the finished product.